How to Configure a Wavlink WiFi Router
Setting up your Wavlink WiFi router the right way matters—follow this must-read guide to get strong, secure internet in minutes!
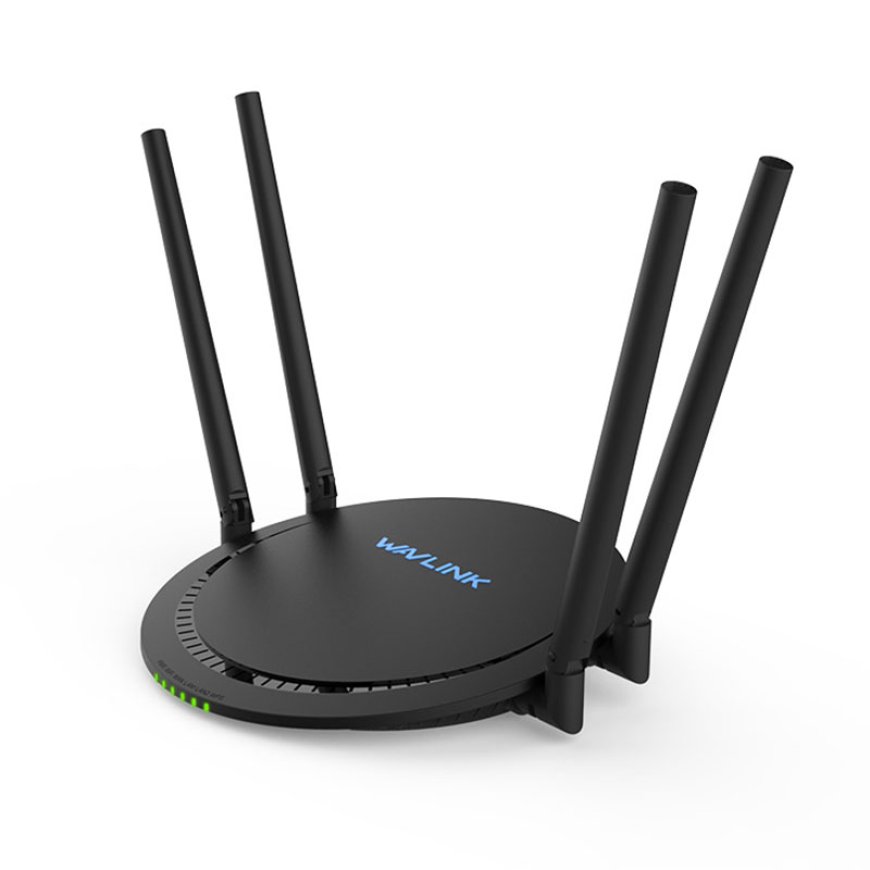
You can set up your Wavlink WiFi router by connecting to its default network and visiting ap. setup in your browser — that’s where the entire setup begins. From there, you’ll choose how you want the router to function and configure your internet settings step by step.
But even if, one setting is skipped or entered wrong, you could be left with no internet at all. That’s where the real problem begins: blinking lights, dropped signals, and hours wasted trying to figure out what went wrong. We've seen it too many times — routers stuck halfway through setup, users locked out of their own network, or worse, running on an insecure connection without realizing it.
Hence, whether you're installing the router for the first time or need help with a Wavlink repeater setup, we’ll walk you through the process clearly. Let’s get started!
Step 1: Unpack and Power On
Open the box, and you’ll find, Wavlink router, a power adapter, and an ethernet cable in the box. Plug the router into power outlet and wait a minute for the lights to turn on. You’ll usually see the power and WiFi lights blinking and turning solid, depending on the model.
Step 2: Connect Your Device
Using your laptop or phone, go to the WiFi settings and connect to the network that’ll look similar to “ Wavlink-XXXX” — no password is required at this stage. Once you’re connected, open your web browser and type ap. setup into the address bar. This is where all the configuration happens.
If the page doesn’t load, try using a different browser or device. Also double-check that you’re still connected to the Wavlink network — not your home’s existing WiFi.
Step 3: Choose the Mode
When you reach the dashboard, you’ll be asked to select a mode. These are your main choices:
-
Router Mode – If you're setting it up as your main router.
-
Repeater Mode – If you want to boost the range of an existing WiFi network.
-
Access Point Mode – For wired connections or bridging with another network.
If your goal is to expand WiFi coverage, select Repeater Mode to start your Wavlink repeater setup. For most new setups, Router Mode is what you want.
Once you select a mode, hit Next.
Step 4: Internet Setup
Now, the router will ask you about your internet connection type. Most homes use DHCP, which automatically pulls settings from your modem. Choose PPPoE if your internet company has assigned you login credentials such as: username and password.
Usually, colored in blue or distinct from the LAN ports, connect the ethernet wire from your modem's LAN port to the WAN port of the router. If you have a Wavlink repeater set up, you will be looking for current WiFi networks rather than depending on a cable.
Step 5: Customize Your WiFi
Now it’s time to set your WiFi name (SSID) and create a strong password. Choose something easy to recognize but secure. Avoid using defaults like “admin” or “password123.”
This is the final step in the basic process. Click Apply or Finish, and the router will reboot with your new settings.
Step 6: Reconnect and Test
After the router restarts, reconnect your device to the new WiFi network you just created. Open a browser and try loading a page or two to make sure everything’s working.
If the connection’s strong and stable, congrats — your Wavlink router setup is done. If not, double-check the mode and settings, or redo the Wavlink repeater setup if needed.
Bonus Tips
-
If you ever need to redo the setup, just press the reset button on the back for 10 seconds.
-
Keep the router in a central, open spot. Avoid place it near or under furniture, closets, and corners.
-
Keep it close to the main router if you are in Repeater Mode. Usually, the ideal location is halfway between the router and the area with no or minimal WiFi network.
Conclusion
Getting your Wavlink WiFi router set up isn’t rocket science. As long as you access the URL correctly and choose the right mode, you’ll be connected in minutes. Whether it’s a full router install or a Wavlink repeater setup, the process is user-friendly and doesn’t require deep tech skills.
And if anything goes wrong? You can always reset and start over. Clean, simple, and totally under your control.












.jpg)


